 Tweet
Tweet
Hey everyone, I just recently put a B&M shift kit that I bought from Summit for like $50 with shipping. I put it on my 1996 Camaro 4L60E. It was the 70360 package. I did some searching first and found this writ up that helped, http://www.fullsizechevy.com/forums/...all-4l60e.html
Following the instructions that the kit came with was also real easy to follow and understand.
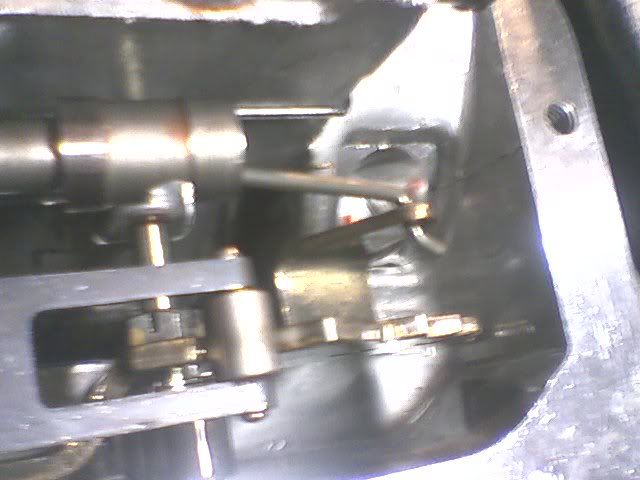
The first thing I did was jack up the car on both sides and supported the car with jackstands. Next I put big pieces of cardboard under the car because I knew I was going to end up spilling trans fluid. And make sure you have a pan big enough to catch the trans fluid that comes out when you remove the tranny pan. I had to move the pan I had on the floor around and ended up spilling. I did what the instructions said and removed the back bolts first and moved forward leaving the front three untill the end. The pan didnt drop straight down when I removed the last bolt so I had to tip the tranny pan sideways and let the fluid come out before I could angle it enough to one side to remove it.
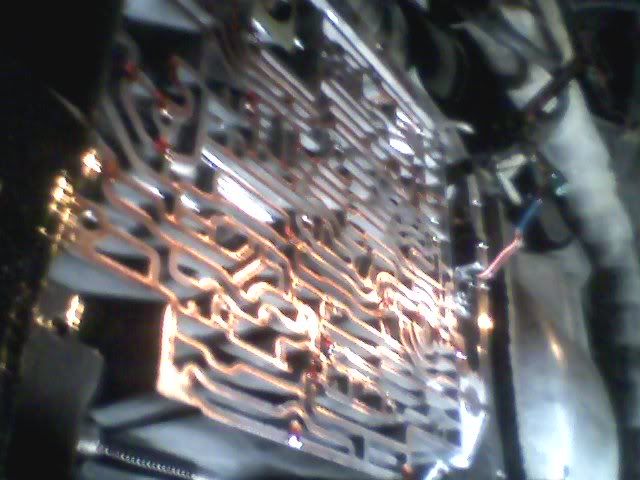
Here is a pic of what you will see.
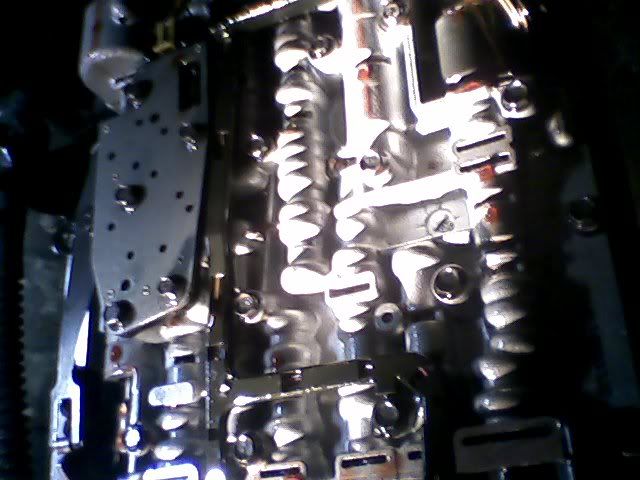
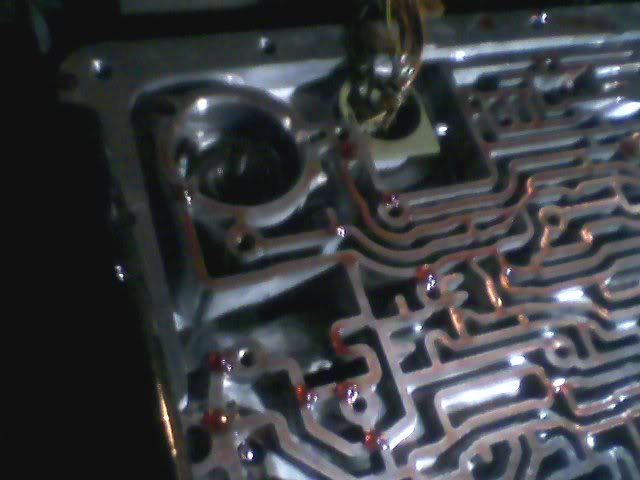
Next you need to take pics or draw a sketch of where all the connections on the valve body go. This is to make sure that you know where they go when you put everything back together.
There are these two in the front.
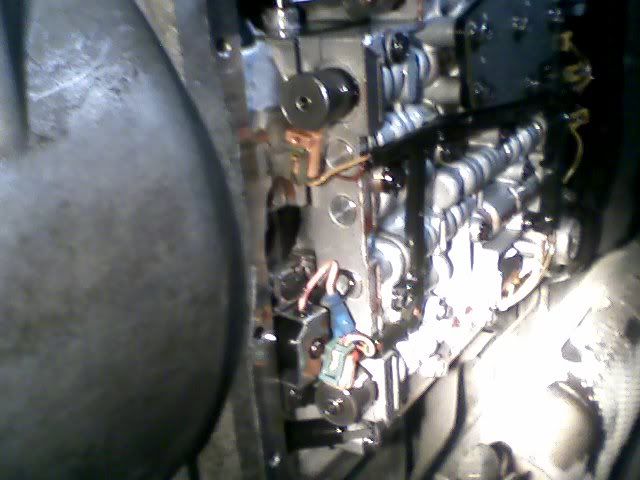
These three in the back
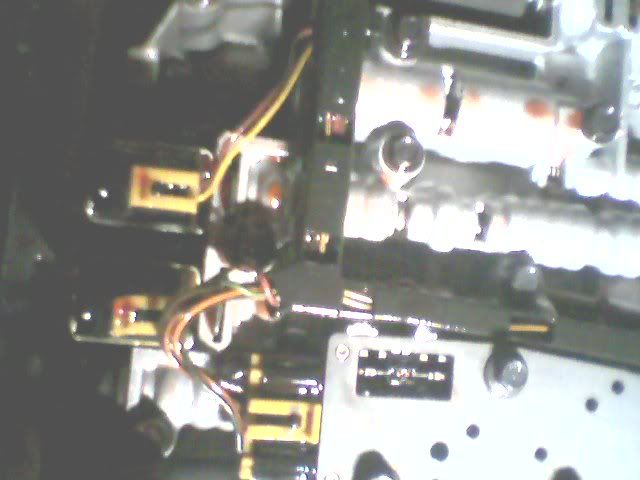
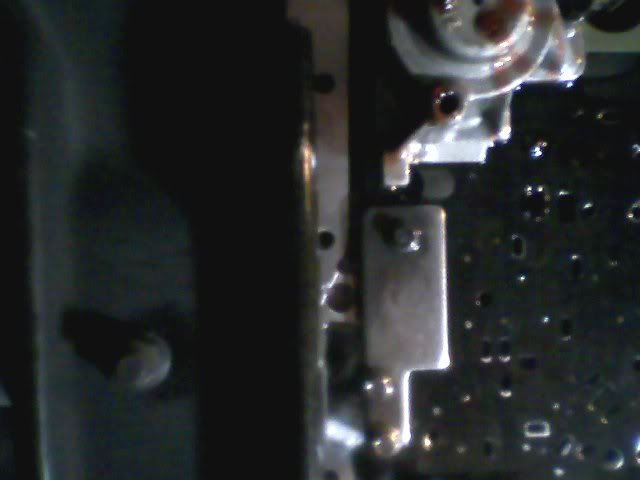
And one to the side that slides off and I didnt get a close up pic but its easy to spot and remove. Next you have to set the wire harness aside by tiying it down. I just loosly wraped a wire around the wire harness and moved it over to one side and wrapped the other end of the wire around the exauhst pipe.
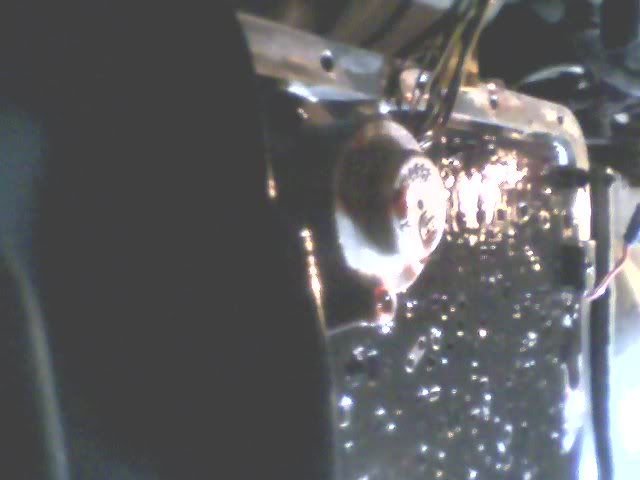
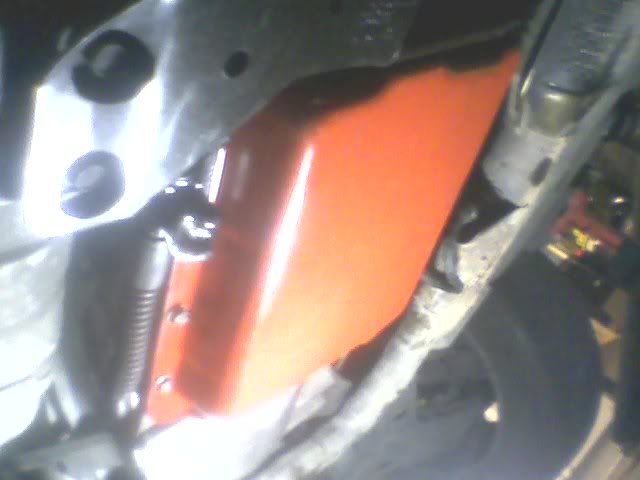
Next is the removal of the bolts that hold the valve body. The instructions tell you which ones to remove. Leave the center one untill the end and remove it with one hand while holding the valve body with the other. Becareful to do this slow and that you have a pan on the floor ready because there are seven check balls that might fall out. In my case they stayed in the valve body. Remove them from the valve body and put them in a safe place. Next remove the 1-2 accumulator housing and seperator plate bracket.
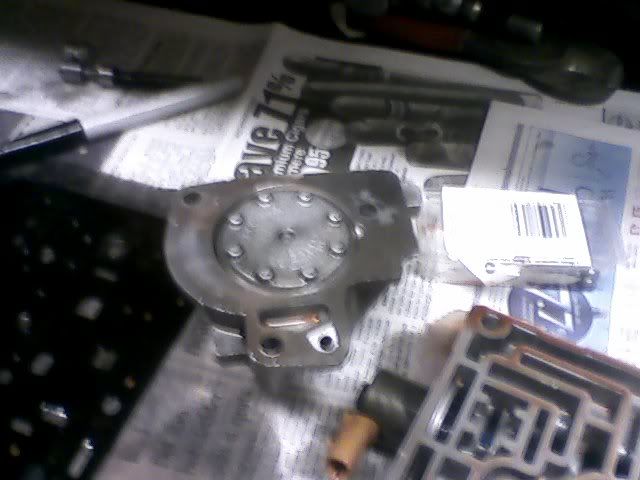
Here is a pic of the 1-2 accumulator housing
Following the instructions that the kit came with was also real easy to follow and understand.
The first thing I did was jack up the car on both sides and supported the car with jackstands. Next I put big pieces of cardboard under the car because I knew I was going to end up spilling trans fluid. And make sure you have a pan big enough to catch the trans fluid that comes out when you remove the tranny pan. I had to move the pan I had on the floor around and ended up spilling. I did what the instructions said and removed the back bolts first and moved forward leaving the front three untill the end. The pan didnt drop straight down when I removed the last bolt so I had to tip the tranny pan sideways and let the fluid come out before I could angle it enough to one side to remove it.
Here is a pic of what you will see.
Next you need to take pics or draw a sketch of where all the connections on the valve body go. This is to make sure that you know where they go when you put everything back together.
There are these two in the front.
These three in the back
And one to the side that slides off and I didnt get a close up pic but its easy to spot and remove. Next you have to set the wire harness aside by tiying it down. I just loosly wraped a wire around the wire harness and moved it over to one side and wrapped the other end of the wire around the exauhst pipe.
Next is the removal of the bolts that hold the valve body. The instructions tell you which ones to remove. Leave the center one untill the end and remove it with one hand while holding the valve body with the other. Becareful to do this slow and that you have a pan on the floor ready because there are seven check balls that might fall out. In my case they stayed in the valve body. Remove them from the valve body and put them in a safe place. Next remove the 1-2 accumulator housing and seperator plate bracket.
Here is a pic of the 1-2 accumulator housing


Comment